


Why Is My Electric Fence Not Working? 10 Common Problems and Solutions
Introduction
An electric fence can work well for months and then suddenly start losing voltage or stop working properly. When this happens, the energizer is not always the problem. Grass touching the fence, a damaged insulator, poor grounding, or one loose connection can affect the whole system. This guide walks you through the most common electric fence problems and shows you what to check before replacing any equipment.
1. Start by Checking the Energizer
The energizer is the first place to check, but it should not be the only thing you inspect.
Make sure the unit has a stable power supply and that its indicator lights or display are working normally. For an AC energizer, check the power connection. For a battery or solar model, check the battery condition and charging system.
You can also use a suitable fence tester to check the energizer output directly.
If the energizer produces a normal reading but the fence voltage is low further away, the problem is probably somewhere along the fence rather than inside the energizer.
2. Look for Vegetation Touching the Fence
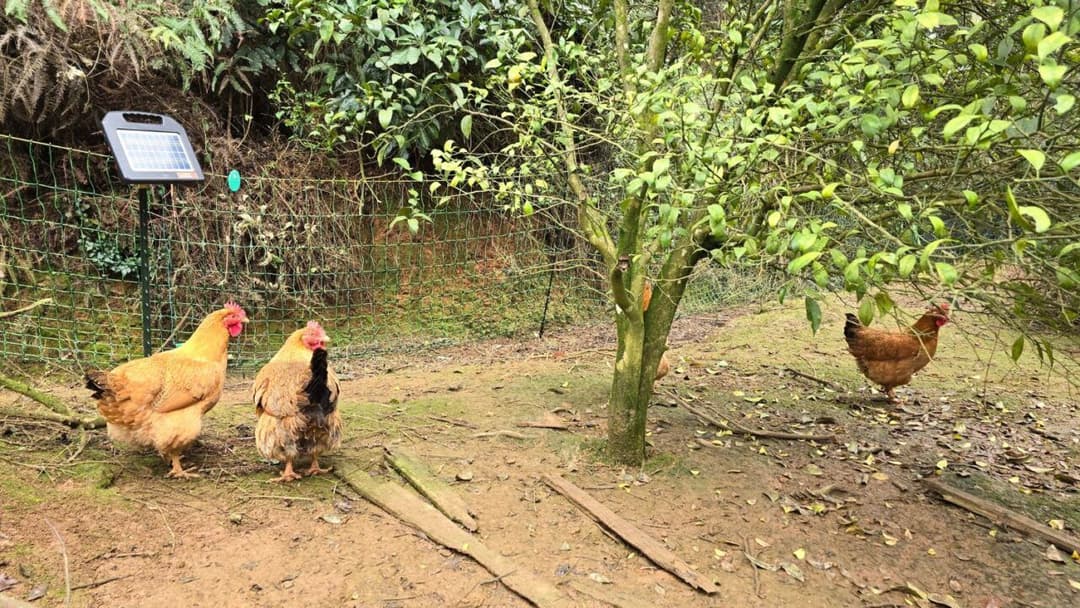
Grass and weeds are among the most common causes of voltage loss.
When vegetation touches an energized conductor, part of the electrical pulse leaks into the plant and eventually into the ground. A few blades of grass may not make much difference, but heavy vegetation along a long fence can place a significant load on the system.
Walk the entire fence line and remove grass, weeds, branches, and other plants that are touching the conductor.
This is particularly important during the growing season when vegetation can change quickly.
3. Test the Grounding System
A poor grounding system can make a good electric fence energizer appear weak.
When an animal touches the fence, the electrical circuit needs to return through the soil and grounding rods. If the grounding rods are poorly installed or the connections are loose or corroded, the circuit cannot work efficiently.
Check the grounding rods and make sure the cables are securely connected.
Dry soil can also affect grounding performance. If your fence becomes noticeably weaker during a long dry period, the grounding system deserves particular attention.
4. Inspect the Fence Wire or Conductor
Your fence conductor carries the electrical pulse around the entire system.
Inspect polywire, polyrope, polytape, or other conductors for broken strands, severe wear, cuts, and damaged sections.
A conductor can look fine from a distance while having damaged conductive strands that increase resistance.
If you find a damaged section, repair or replace it and then test the voltage again.
For long fences, conductor quality becomes even more important because electrical resistance increases as the fence gets longer.
5. Check the Insulators
Insulators prevent electricity from leaking from the energized conductor into the fence posts.
Look closely at your fence insulators for cracks, physical damage, loose fittings, or signs of aging. UV exposure can also gradually weaken outdoor plastic components.
A damaged insulator may cause a small amount of leakage, but several damaged insulators along the same fence can create a much larger problem.
Replacing a few worn insulators can sometimes make a noticeable difference in fence voltage.
6. Examine Every Electrical Connection
Loose connections are easy to overlook.
Check the points where the fence conductor connects to the lead-out cable, gate, underground cable, or other fence sections.
Do not rely on simply twisting conductors together. A secure electrical connection provides better conductivity and is less likely to loosen because of weather or livestock movement.
Corrosion is another problem, particularly at outdoor connection points.
If a connection looks dirty, loose, or damaged, clean or replace it before continuing with other troubleshooting.
7. Check the Gate Area
Electric fence gates can create unexpected voltage problems.
Gate handles, connectors, underground cables, and the conductor around the gate all need to maintain a reliable electrical path.
If your fence voltage is normal before the gate but drops significantly after it, inspect the gate connection first.
Make sure the gate handle is properly connected and that any insulated cable running underneath an access point has not been damaged by vehicles, animals, or farm equipment.
8. Measure Voltage at Different Points
Testing only one point of the fence does not tell you where the problem is.
Start close to the energizer and then move along the fence line, testing several locations.
For example, you may find:
- Normal voltage near the energizer
- Slightly lower voltage in the middle
- Very low voltage at the far end
This pattern suggests that something is causing resistance or electrical leakage along the fence.
Testing different points makes troubleshooting much easier because you can narrow down the location of the problem instead of checking every component at once.
9. Make Sure the Energizer Matches the Fence
Sometimes the fence is not technically faulty. The energizer simply may not be suitable for the actual fence conditions.
The advertised maximum fence length is not always the same as the practical operating length on a real farm.
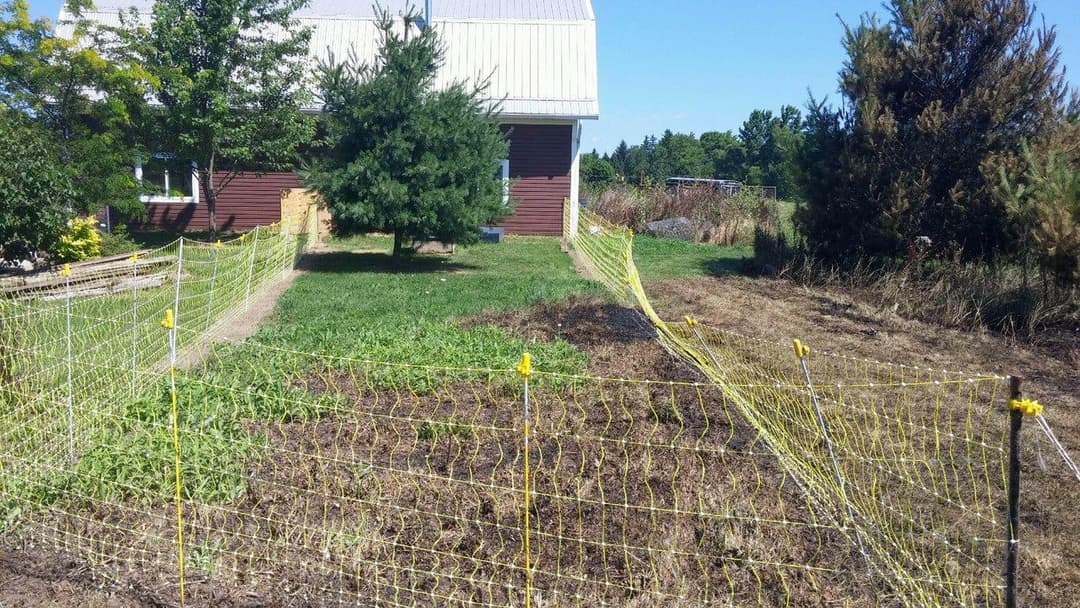
Heavy vegetation, multiple fence lines, electric fence netting, poor soil conditions, and low-quality connections can all increase the load.
When choosing an energizer, consider the complete fencing system rather than looking at fence length alone.
A correctly sized energizer gives you more reliable performance and leaves enough capacity for real-world conditions.
10. Check the Fence After Severe Weather
Storms, heavy rain, strong winds, and dry weather can all affect an electric fence.
Strong winds may knock over fence posts or bring branches into contact with the conductor. Heavy rain can expose loose connections or cause physical damage. Long periods without rain can affect grounding conditions.
After severe weather, take a few minutes to walk around the fence.
Look for fallen branches, damaged posts, broken conductors, loose connectors, and changes in the grounding system.
A quick inspection can prevent a small problem from becoming a livestock escape.
11. Use a Simple Troubleshooting Order
When your electric fence is not working, avoid replacing components at random.
A simple troubleshooting sequence is more efficient:
- Check the energizer power supply.
- Test the energizer output.
- Test the fence voltage near the energizer.
- Check the fence line for vegetation.
- Inspect conductors and connections.
- Check insulators and gate areas.
- Test the grounding system.
- Measure voltage again at the far end.
This approach helps you identify whether the problem starts with the power source, the fence, or the grounding system.
Conclusion
When an electric fence is not working properly, the cause is often something simple rather than a failed energizer. Vegetation, poor grounding, damaged conductors, worn insulators, loose connections, and unsuitable equipment can all reduce fence voltage. By testing the system step by step, you can usually locate the problem without replacing components unnecessarily. A reliable electric fence is a complete system, and the energizer, conductors, grounding system, posts, insulators, and connections all need to work together. Lydite Fence provides electric fence energizers and a wide range of fencing components for farmers, ranchers, and livestock owners.
FAQ
Why is my electric fence showing low voltage?
Low voltage can be caused by vegetation touching the fence, poor grounding, damaged conductors, loose connections, faulty insulators, or an energizer that is too small for the system.
How can I test an electric fence?
Use a digital electric fence tester and measure voltage at several points along the fence. Avoid touching the fence directly to test whether it is working.
Can wet or dry soil affect an electric fence?
Yes. Soil conditions can affect the performance of the grounding system. Extended dry periods can make it more difficult for the electrical circuit to return through the ground.
Why is the voltage good near the energizer but low at the end?
This usually indicates a problem somewhere along the fence line. Check for vegetation, damaged conductors, poor connections, and faulty insulators between the two testing points.
Should I replace my energizer if my fence voltage is low?
Not immediately. Test the energizer output first and inspect the fence and grounding system. Replacing the energizer may not solve the problem if the actual cause is elsewhere.







Wuxi, China
Zhihui568, Jianghai Western Road
Wuxi, Jiangsu, China
Head Factory
Area A, Shuangmiao Industrial Park, Wutong Road, Huishan District, Wuxi City, Jiangsu Province, China


